
Epoxy & Polyaspartic Garage Flooring Installation in Harrogate – A Detailed Case Study
Harrogate is known for beautiful homes, but even the best-built properties can hide problem areas—especially in garages that have taken years of punishment from vehicles, moisture, and winter road salts. This project was a perfect example of how professional garage flooring installation can completely resurrect a space that seemed beyond saving.
In this in-depth case study, we’ll walk you through the transformation of a heavily corroded concrete slab into a stunning, durable polyaspartic flake garage floor in the colour blend Creek Bed. From severe salt damage and a 100mm slope issue to full surface preparation, repairs, screeding, and flawless coating installation—this job had it all.
Along the way, we’ll also explain why epoxy resin garage floors, resin garage flooring, and tough garage flooring systems are fast becoming the gold standard for modern garages, workshops, and utility spaces.
The Starting Point – A Garage Floor at the End of Its Life
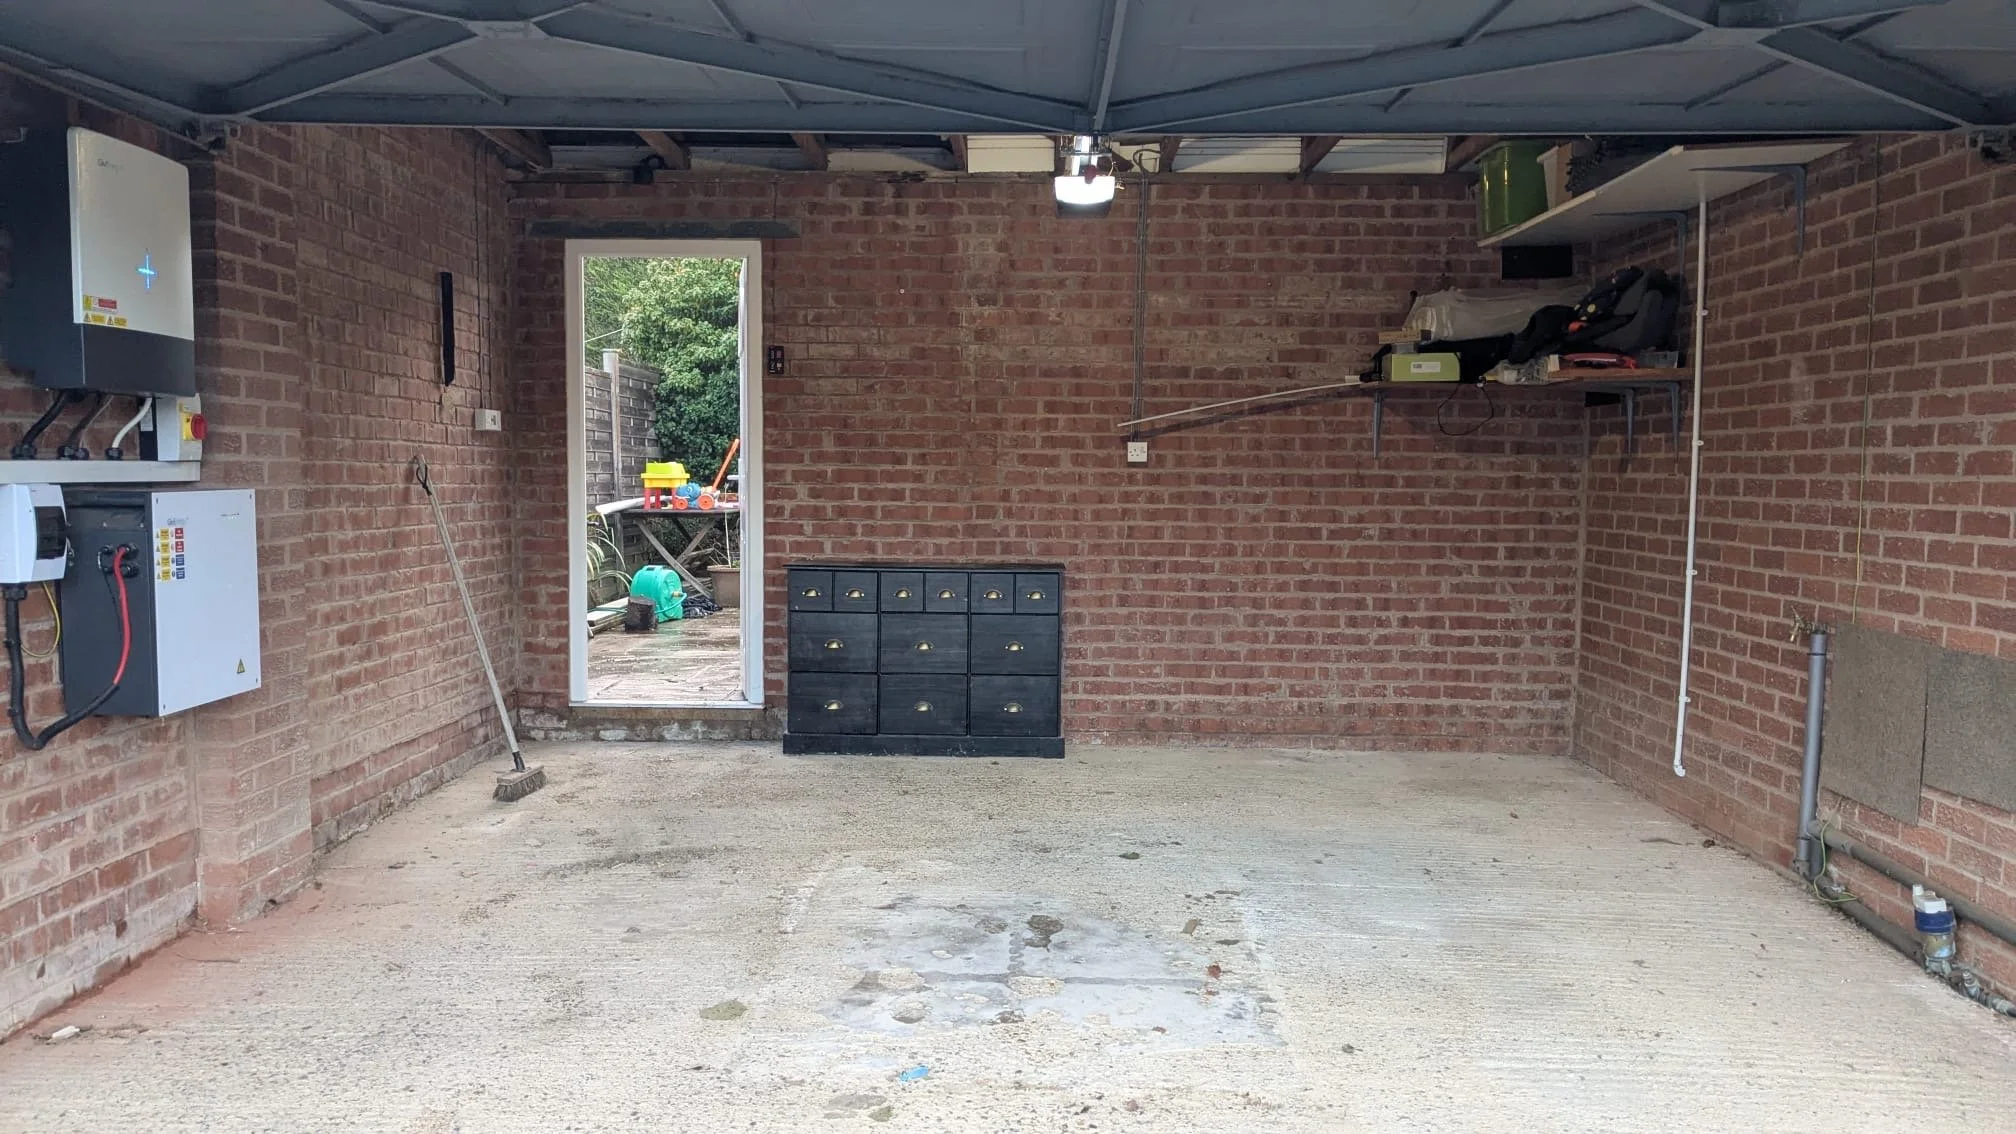
When we first arrived at the property in Harrogate, the garage floor was in extremely poor condition. Decades of salt ingress, moisture exposure, and freeze–thaw cycles had taken their toll. The concrete surface was:
Heavily spalled and fractured
Pitted from long-term salt corrosion
Uneven with visible surface failure
Difficult to clean and impossible to keep dust-free
This is a common issue in UK garages. Road salt brought in on tyres slowly penetrates the concrete, breaking down the cement paste and leading to structural surface failure. Over time, this causes the surface to crumble under traffic.
From both a functional and visual perspective, the floor was no longer fit for purpose. The client wanted a solution that delivered:
A tough garage flooring system
A clean, hygienic flooring surface
A waterproof coating
Strong anti slip floor coating
And a sleek, modern aesthetic
The Hidden Challenge – A 100mm Floor Level Difference
As if the surface damage wasn’t enough, we discovered something far more complex during our survey.
The property had been built into a natural slope, and the original builders had left a dramatic fall in the garage slab. One side of the floor sat around 100mm lower than the other. This created:
Drainage concerns
Parking instability
Pooling water during wet conditions
Difficulty achieving a smooth finish for any garage epoxy floor system
We discussed this in full with the client before any work began. The most extreme solution—breaking out the entire slab and repouring a new concrete pad—was explored but ruled out due to cost, disruption, and timescale. Instead, we agreed on a targeted screeding strategy to reduce the drastic dip as much as physically possible without full replacement.
This transparent planning stage is vital for any flooring installation contractors near me project. Setting expectations correctly ensures satisfaction at the end.
Mechanical Preparation – Grinding Back to Sound Concrete
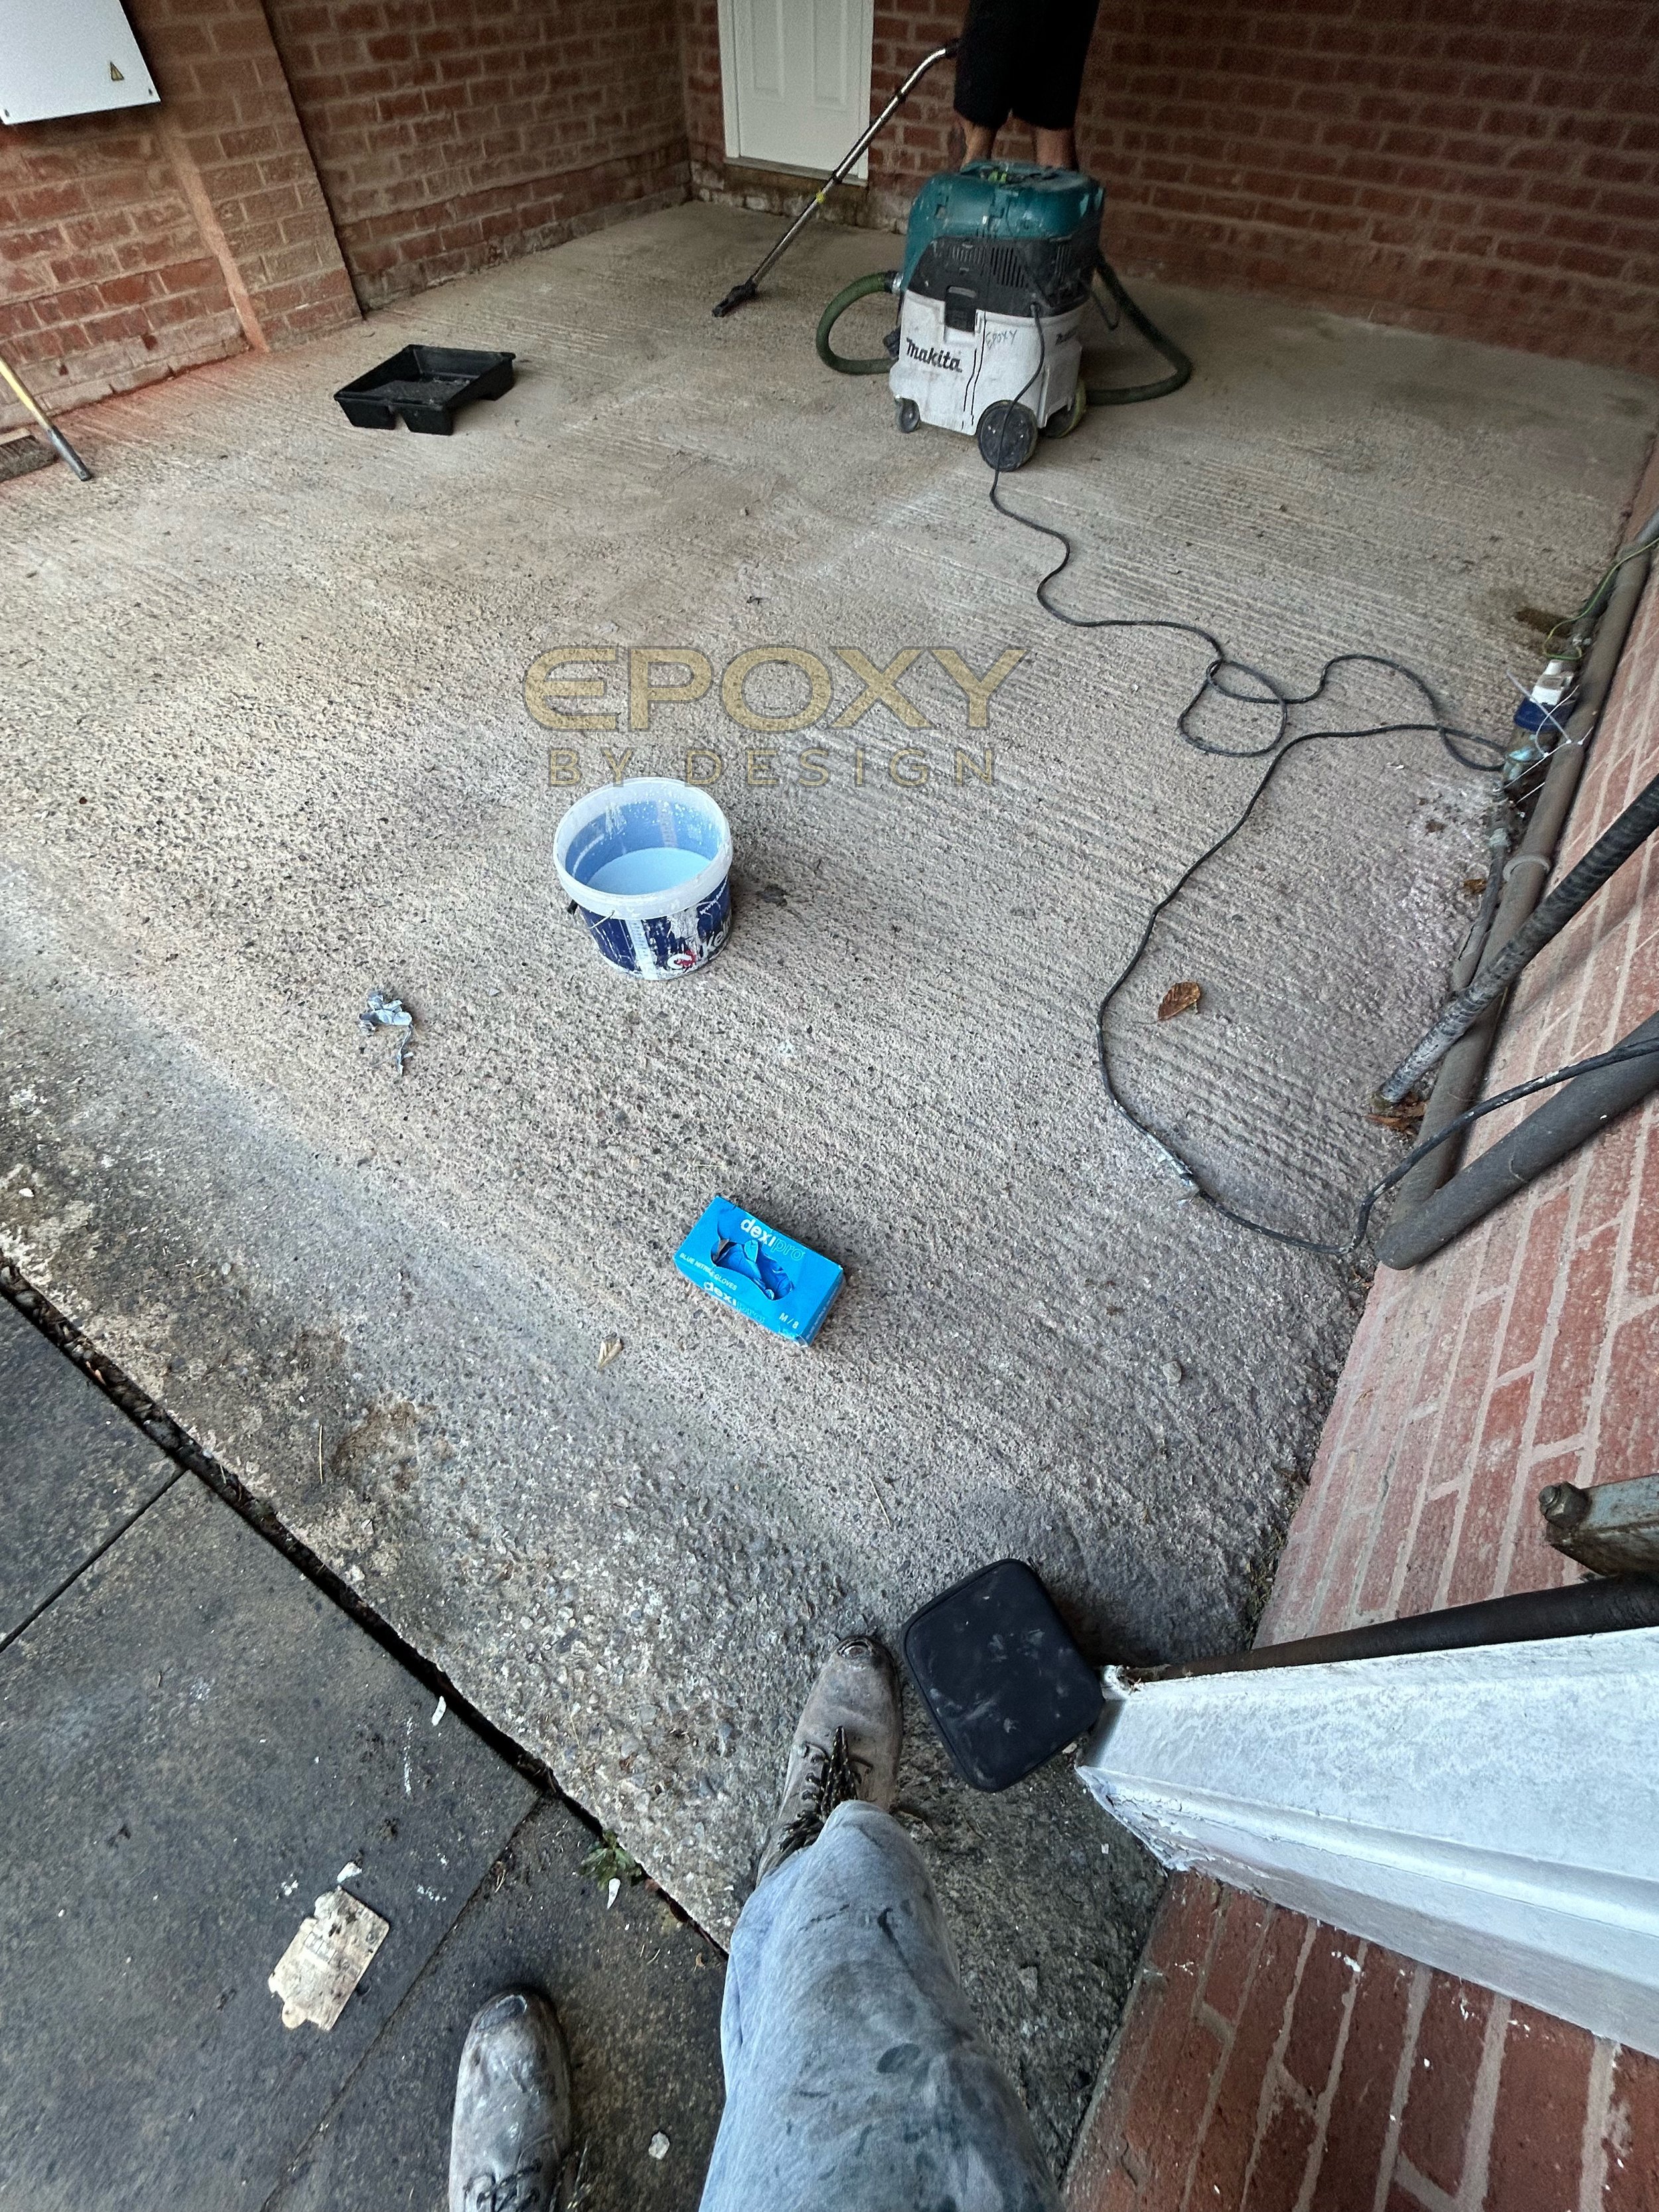
Every successful epoxy resin flooring or resinous floor installation begins with proper preparation. This is the stage that determines whether your garage resin floor will last 2 years or 20.
We mechanically diamond-ground the entire garage using industrial equipment. This process:
Strips away all weak, contaminated concrete
Removes salt-damaged laitance
Opens the pores of the slab for maximum coating adhesion
Leaves a clean, textured substrate ideal for epoxy on garage floor bonding
At this stage, the true condition of the concrete becomes visible. Unfortunately, the grinding revealed deep surface instability in several areas, confirming that structural repairs were unavoidable.
Concrete Repairs & Targeted Screeding

Once fully exposed, we addressed all damaged areas with high-strength resin repair mortars. These specialist materials are far superior to standard concrete fillers and are essential for epoxy resin for garage floors installations.
Next came the most technical part of the job—correcting the 100mm fall. Rather than screeding the entire floor, which would compromise thresholds and structural heights, we strategically screeded key low points to:
Reduce the steepest gradient
Improve vehicle stability
Improve coating flow and finish
Achieve the smooth concrete floor needed for coating success
While the finished floor could not be made perfectly level without a full slab pour, we achieved the best possible solution within practical limits, exactly as agreed with the client.
Priming – The Chemical Bond That Holds Everything Together

With the substrate repaired, cleaned, and stabilised, we applied a high-performance epoxy primer. This stage is absolutely essential in:
Locking down any remaining micro-dust
Preventing air bubbles
Enhancing long-term adhesion
Creating a waterproof barrier at the concrete interface
For anyone considering painting the garage floor with DIY products, this is where professional systems dramatically outperform retail coatings. Without a chemically bonded primer, most DIY coatings fail within months.
Our garage epoxy floor systems rely on full chemical cross-linking between concrete, primer, base coat, and sealer.
Full Flake Broadcast – Creek Bed Polyaspartic System

Once primed, we installed the polyaspartic base coat and immediately broadcast the decorative flakes to full rejection. The selected colour blend—Creek Bed—was the perfect natural tone for this property, combining:
Soft greys
Warm stone shades
Subtle contrast flecks
This stage creates not only the visual impact but also the slip-resistant texture essential for anti slip floor coating performance. Unlike basic anti slip floor paint, flake systems create a multi-directional grip profile suited to both vehicles and foot traffic.
This type of decorative epoxy resin flooring gives garages a showroom-quality finish while delivering industrial-grade durability.
Final Sealer Coat – Locking in Strength, Waterproofing & UV Stability

After the flake broadcast cured, we scraped and vacuumed the surface before applying the final clear polyaspartic sealer. This coat transforms the system into:
A fully waterproof flooring solution
A hard-wearing garage epoxy floors finish
A chemical-resistant workshop flooring surface
A fully sealed, dust-free garage floor flooring system
This final layer also determines the gloss level and long-term cleanability. The result is a resin garage floor that resists oil, brake fluid, salt, detergents, and tyre plasticiser migration.
The Finished Result – A Complete Transformation
The end result is almost unrecognisable from where we started. What was once a crumbling, unsafe concrete surface is now:
A seamless resin flooring system
Fully sealed and waterproof
Easy to clean and maintain
Safe thanks to integrated anti slip floor coatings
Visually striking and modern
Despite the original slope challenge, the finished floor is dramatically improved and fully fit for purpose.
Why Polyaspartic & Epoxy Resin Garage Floors Outperform Everything Else
Whether you’re considering:
Epoxy coated garage flooring
Epoxy resin garage floor
Garage resin flooring
Or even a metallic epoxy floor
Modern epoxy flooring systems outperform tiles, paints, and bare concrete in almost every category.
Key Benefits Include:
✅ Extreme abrasion resistance
✅ Waterproof coating & moisture protection
✅ Fully seamless surface
✅ Superior chemical resistance
✅ Outstanding hygiene and cleanliness
✅ Anti-slip safety grip
✅ Long-term colour stability
✅ Increased property value
Unlike basic flooring for garagesyy solutions such as tiles or single-pack paints, professional resin garage floor systems become part of the concrete itself.
Ideal Uses for Resinous Floors
This type of resin for floors is not limited to garages. It’s commonly installed in:
Domestic garages
Commercial workshops
Showrooms
Utility rooms
Storage facilities
Home gyms
Commercial units
Whether you want garage floors epoxy, metallic garage finishes, or subtle natural flake blends like Creek Bed, the design options are endless.
Maintenance – Keeping Your Garage Resin Floor Looking New
One of the greatest advantages of garage epoxy floor systems is how easy they are to maintain:
Regular sweeping removes grit
Occasional mopping with neutral detergent keeps the surface spotless
No resealing required for many years
Resistant to staining and tyre marks
Unlike bare concrete, which constantly dusts and stains, a sealed garage resin floor stays clean, hygienic, and professional-looking year-round.
A Word on Slopes, Drainage & Expectations
This project is also a perfect example of why professional consultation matters. Floors that are:
Significantly out of level
Affected by structural settlement
Built into slopes
Must be assessed carefully before coating. While screeding and resin layering can visually correct many issues, not every slab can be made perfectly level without full replacement. In this case, transparent discussion before starting ensured the client was delighted with the outcome because expectations were aligned with structural reality.
Why Choose Professional Flooring Installation Contractors Near Me?
This Harrogate transformation highlights exactly why professional flooring installation contractors near me matter. From:
Structural assessment
Mechanical grinding
Moisture mitigation
Resin chemistry
Slip resistance compliance
Long-term durability
Every layer of this system was engineered—not guessed.
Final Thoughts – A Future-Proof Garage Floor in Harrogate
This garage transformation is the perfect example of what modern epoxy resin flooring, garage resin flooring, and waterproof coating systems can achieve—even on the most challenging substrates.
From a severely salt-damaged slab and a 100mm floor level discrepancy to a stunning Creek Bed flake system sealed with polyaspartic protection, this project proves that with the right preparation, products, and planning, almost any garage floor can be reborn.
If you’re tired of:
Dusty concrete
Crumbling surfaces
Slippery painted finishes
Or ugly cracked slabs
Then a garage epoxy floor, resin garage floor, or decorative epoxy resin flooring system could be the best investment you make in your property this year.